Jeep Wrangler Body Lift Install
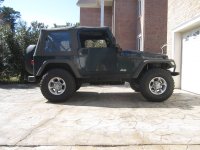
Before:
After:
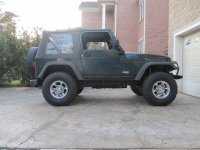
A body lift is a pretty straight forward way to lift the body of your Jeep - you simply insert a spacer between the frame and the body that will lift the body up. A body lift doesn't change the suspension or road handling of your Jeep at all - all it will do is allow you to fit larger tires. This lift by itself won't allow you to drive over bigger rocks or tougher obstacles, but the body life will allow you to run larger tires which will help offroad.
Body lifts often don't get a fair shake. People don't consider larger body lifts safe, and say that the gaps they cause between the body and the frame look goofy, which is true of a 3+ inch lift, but a small one or two inch body lift can be a safe and effective.
Pros:
Cons:
*Optional - Install motor mount lift
Often, people couple a body lift with a motor mount lift (it is recommended by JKS), and this is what I did with my install. When the body is lifted, the radiator and transfer case shifter is moved up while the engine stays at the same height. You can either raise the engine or lower the radiator shroud and alter the transfer case linkage. It's easier and cheaper to lower the radiator / modify linkage, but a motor mount lift is an option.
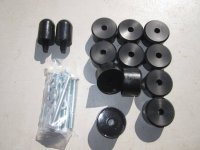
What comes in the box:
I purchased a 1.25" body lift from JKS manufacturing. This included body mounts, hardware, and new bump stops for the radiator.
Install instructions
View attachment JKS-body-lift-install-instructions.pdf
Thats it, you're now done. Just be sure to inspect and re-torque your bolts after a couple of days.
Optional Transfer case linkage adjustment:
Verify that you can shift into 4 wheel drive. On my Jeep I wasn't able to - the transfer case would just grind. I found that I needed to modify the transfer case linkage. To do this I used the supplied lowering plate (note that JKS said that this was not necessary with a motor mount lift - even though I had a motor mount lift, I still needed the linkage adjustment).
Before:

After:

A body lift is a pretty straight forward way to lift the body of your Jeep - you simply insert a spacer between the frame and the body that will lift the body up. A body lift doesn't change the suspension or road handling of your Jeep at all - all it will do is allow you to fit larger tires. This lift by itself won't allow you to drive over bigger rocks or tougher obstacles, but the body life will allow you to run larger tires which will help offroad.
Body lifts often don't get a fair shake. People don't consider larger body lifts safe, and say that the gaps they cause between the body and the frame look goofy, which is true of a 3+ inch lift, but a small one or two inch body lift can be a safe and effective.
Pros:
- Cheap (between $100 and $200)
- Easier to install than a suspension lift
Cons:
- Additional stress on the bolts that attach the body of your Jeep to the frame. With a body lift, you'll need longer bolts to make this connection. In the event of a collision, or hard braking, the force on these bolts could be too much, causing the body bolts to sheer off. The chances of this are minimal with a 1-2" lift, but get more likely with a larger lift.
- Visible gaps between the body and the frame.
*Optional - Install motor mount lift
Often, people couple a body lift with a motor mount lift (it is recommended by JKS), and this is what I did with my install. When the body is lifted, the radiator and transfer case shifter is moved up while the engine stays at the same height. You can either raise the engine or lower the radiator shroud and alter the transfer case linkage. It's easier and cheaper to lower the radiator / modify linkage, but a motor mount lift is an option.
What comes in the box:
I purchased a 1.25" body lift from JKS manufacturing. This included body mounts, hardware, and new bump stops for the radiator.

Install instructions
View attachment JKS-body-lift-install-instructions.pdf
- Remove the 4 bolts holding on the radiator shroud. You don't have to remove the shroud though - just leave it hanging.
- Disconnect your swaybars if you have swaybar disconnects.
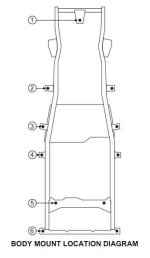
- Removing the body mount bolts - You'll want to work with one side of the Jeep at a time (let's start with the driver side). Remove the bolts from the driver side, and loosen the bolts on the passenger side, but don't remove all of the bolts, you don't want the body sliding around when you jack it up! In the diagram below, you'd remove the bolts from 1-6 while leaving the rest in (but loosened)
- Jack up the driver side of your Jeep slowly, raising it and inch or two up.
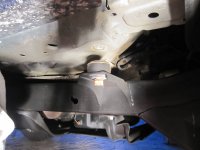
- Now, place the body pucks on top of all mounts on that side.
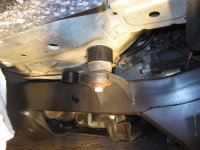
Rear body mount before:
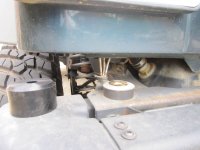
Rear body mount after:
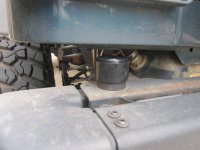
- Once all the body pucks are in place for this side, you'll need to place the bolts back in and finger tighten this side. You may have to jack the side back up and shift the mounts a bit until the holes line up - I found it easiest to get each bolt started, and then move on to the next mount.
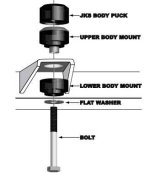
- After you've finished the driver side, remove the bolts from the passenger side, jack it up, and insert the mounts and bolts for this side.
- Once you've finished each side, you'll need to do the same for the single front mount, located under the radiator.
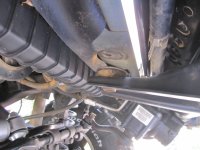
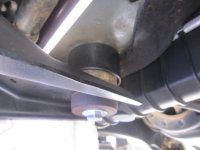
- Now that your lift is installed, go back and apply medium strength thread locker to your bolts, and using a torque wrench, torque them to 30-35lbs each.
- Reattach the fan shroud. If you aren't installing a motor mount, you'll need to trim the fan shroud so that the fan doesn't hit it.
- Check the transfer case linkage. If you do install a motor mount lift, you'll likely need to adjust the linkage so that you can shift into four wheel drive. If you opt to use the supplied bracket instead of a motor mount lift, you'll need to check out the factory instructions (at the top of this how-to).
- Replace the radiator bumpers. These help support the front grill, and need to be an inch longer - luckily there are new bumpers supplied. This turned out to be harder than I thought it should be, and I ended up having to grease the bumpers to get them to go in.
Original bumpstops
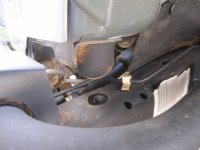
Replacement bumpstops
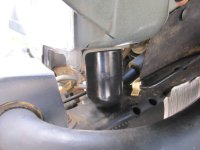
- Check everything out. Pay special attention to your radiator fan to make sure that it doesn't hit the shroud, and your brake lines to make sure that they are not stretched.
Thats it, you're now done. Just be sure to inspect and re-torque your bolts after a couple of days.
Optional Transfer case linkage adjustment:
Verify that you can shift into 4 wheel drive. On my Jeep I wasn't able to - the transfer case would just grind. I found that I needed to modify the transfer case linkage. To do this I used the supplied lowering plate (note that JKS said that this was not necessary with a motor mount lift - even though I had a motor mount lift, I still needed the linkage adjustment).
- This is the linkage that needs to be modified. One side is on the body of the Jeep, and the other side mounts to the transmission. Since the body is lifted and the transmission isn't, this linkage is at an angle. This is what the body side linkage mount looks like:
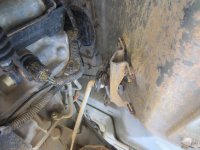
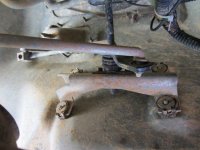
And the side that mounts to the transmission. The JKS instructions said to unbolt this side, however I couldn't get a wrench onto it.
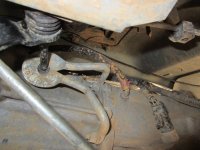
This is the JKS provided plate to lower the linkage.
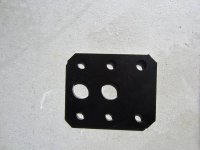
- To unbolt the linkage I decided to remove the bolts that held it to the body. Just lift your carpet (if you have any) and remove these four bolts. I had to put a clamp on the bracket below the Jeep in order to keep it from spinning.
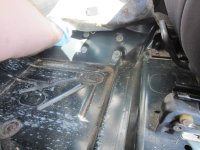
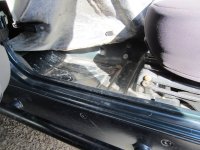
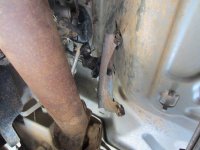
- Once the bracket is free, you can bolt on the plate
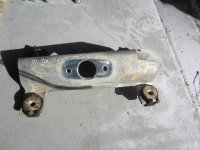
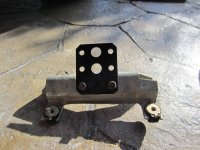
- Bolt the bracket back into place, then you can bolt the bar into place
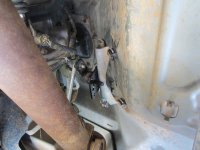
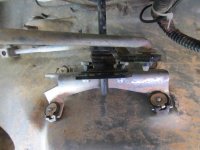
- Now the finished product
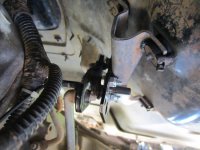
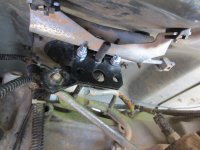
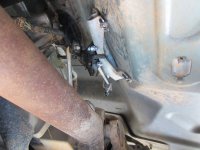
- Finally, try and shift into 4 wheel drive. You may have to work the adjustment nut on to get the perfect position.
Last edited:
