Installing Jeep Wrangler Corner Guards

Utah_jeepster

Super Moderator
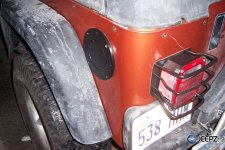
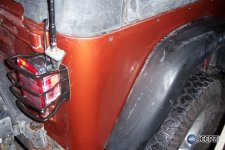
Crusher corners are a type of Jeep armor that bolts overtop the rear corners of your Jeep Wrangler, protecting you from body damage when you're playing on rocks. There are a few companies making crusher guards, and after some research, I picked up some Gen-right corner guards by Gen-right offroad.

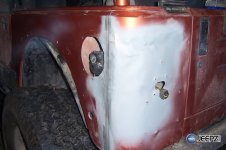
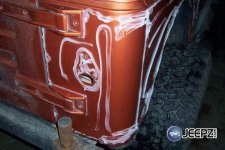
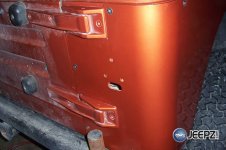
The reason for this whole project was not only for added protection, but because </O:p>I was recently rear ended by a older (and larger) Ford pick up truck while I was making a left turn. The truck actually missed my bumper and only hit the rear tail light basket cover pushing the sheet metal in. With repairs costing less than my current under/uninsured co pay, I decided to do the work myself.


(Disclaimer, this article is no means a ‘how to’ install guild, but a supplement of my installation. Before undertaking the installation of Gen-Right Crusher Corners, please read and follow all manufactures suggestions in the installation manual.)
 

Step 1 - Repair damage and pull out the dents

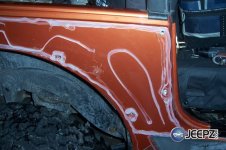
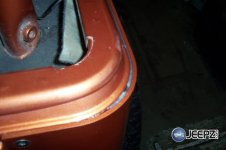
If you are installing these on an undamaged Jeep, you'll want to make sure that the body is clean under the corner guards. In my case, I had a competent body works man pull the corner and re-establish the tail-gate gap I test fitted only one side panel. The instructions said to do both but after fitting the one side, and seeing the exhalant fit I for-gone the removal of the fender flare and tail light to test fir the right side.
 

Attachments

  • image001_jeep_corner_guards.jpg
    image001_jeep_corner_guards.jpg
    73.8 KB · Views: 2,417
Step 2 - Paint corner guards

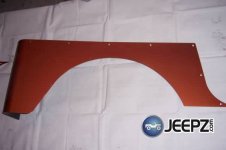
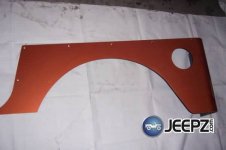
Then I had both of the panels professionally painted to match the unique 2001 color of my jeep. If your thinking of having them painted the same color of your jeep I would recommend that you do a full install of both panels and your fender flares before you have them painted. Since it was full winter I didn’t want to drive around with holes in my jeep for several weeks. On hind sight I think I should have done it.
 

Attachments

  • image003_jeep_corner_guards.jpg
    image003_jeep_corner_guards.jpg
    12.1 KB · Views: 1,012
  • image005_jeep_corner_guards.jpg
    image005_jeep_corner_guards.jpg
    13.6 KB · Views: 780
Step 3 - Strip the Jeep

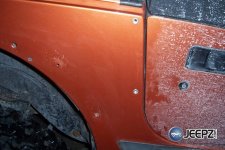
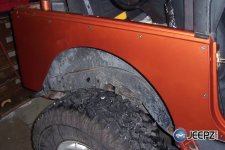
Following the instructions, we stripped the hardware and fender flares off both sides of the jeep, and then did a thorough cleaning of the side panels with alcohol.

We also stripped all of the fender flare fastener hardware as well since we were going to drill and tap the panel itself later on to hold the fender flares.
 

Attachments

  • image007_jeep_corner_guards.jpg
    image007_jeep_corner_guards.jpg
    40.1 KB · Views: 9,354

Step 4 - Flatten holes

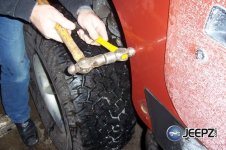
Using two ball peen hammers we flattened the holes from the original hardware.
 

Attachments

  • image009_jeep_corner_guards.jpg
    image009_jeep_corner_guards.jpg
    62.8 KB · Views: 909
Step 5 - Drilling the tub

Then we set the first panel holding the panel on with carpet covered blocks and ‘C’ clamps and marked the first two holes.

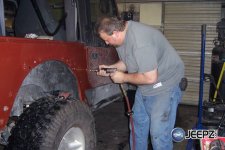
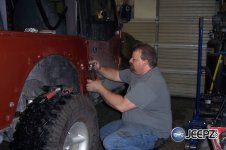
Then using a ‘center drill’ then a ½ drill we drilled both locations.
If you don’t have access to a center drill , using a center punch or a smaller pilot drill will help you drill exactly where you marked. This is critical to get the first locations as close to center as possible since this will dictate if you will have any gap in the rear.

Once you drill the ½ holes don’t deburr them since the burr’s will help hold the two nut-certs you will install next.
Gen-Right provided a bolt and nut combination needed to install the nut-certs, we had a nut-cert gun so we used it.
 

Attachments

  • image011_jeep_corner_guards.jpg
    image011_jeep_corner_guards.jpg
    53.8 KB · Views: 825
  • image013_jeep_corner_guards.jpg
    image013_jeep_corner_guards.jpg
    44.9 KB · Views: 552
Step 6 - Tighten the nut-certs

Make sure you get the nut-certs nice and tight so they don’t spin on you later.
Here is what you’re looking for.
 

Attachments

  • image015_jeep_corner_guards.jpg
    image015_jeep_corner_guards.jpg
    60.4 KB · Views: 955

Step 7 - Cleanup an apply silicon

After one more test fitting we went down the line drilling each location, then loosely bolting them in to move the clamps. You do this till you get to the back of the jeep where you’re going to have to put in one more nut-cert, drilling and fitting from the front allows you to make sure of your final alignment on the rear of the jeep.

Once you have it all drilled , we deburred the smaller holes with a chamfer tool both sides and touched them up with several coats of primer sprayed onto a ‘Q-tip’ to reach inside the holes.

Then we applied a hole tube of clear silicon sealant (more than we needed) around every surface to seal the Gen-Right panel to the jeep making sure to cover all the openings around the tail light holes.
 

Attachments

  • image019_jeep_corner_guards.jpg
    image019_jeep_corner_guards.jpg
    50.7 KB · Views: 4,045
  • image017_jeep_corner_guards.jpg
    image017_jeep_corner_guards.jpg
    54.8 KB · Views: 900
Last edited by a moderator:
Step 8 - Reinstall the corner guards and bolt back up

Then reinstalled the hardware tightening them in the same order we drilled them so the panels will fit exactly.
 

Attachments

  • image021_jeep_corner_guards.jpg
    image021_jeep_corner_guards.jpg
    55.4 KB · Views: 973
  • image023_jeep_corner_guards.jpg
    image023_jeep_corner_guards.jpg
    47.9 KB · Views: 688
Corner Guard Fitting

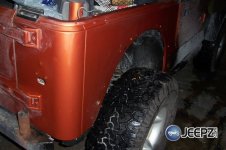
Notice the great fit of the panel and the door hinges, this was something we worried about since we didn’t test fit the panels earlier before we had them painted.
This is why the instruction said to, if Gen-Right didn’t make a quality product we would have been sanding on painted panels and had to touch them up ruining a fine paint job.
If we had test fitted them I think we could have pulled the gap at the upper radius a little tighter.
 

Attachments

  • image025_jeep_corner_guards.jpg
    image025_jeep_corner_guards.jpg
    30.4 KB · Views: 1,900

Electricial concerns

The first panel took us over three hours due to the fact it was drilling into my jeep for the first time.
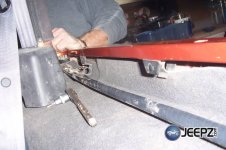
The second side took us considerably less time since we had the theory down, the only thing you need to do beyond what you all ready done is to make sure you pull the rear electrical tube (holding the rear wiring) out away from the tub so you don’t drill into it.
 

Attachments

  • image027_jeep_corner_guards.jpg
    image027_jeep_corner_guards.jpg
    41.8 KB · Views: 804
Step 9 - Reinstalling the fender flares

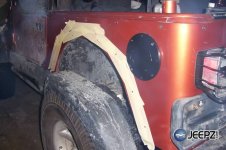
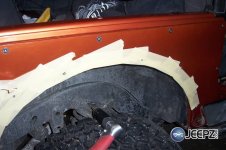
Next we masked off the fender well and clamped the fender flare in place.

Then we drilled and tapped for a ¼-20 screw.

We also attached the tail lights and license plate holder bracket in the same fashion.
 

Attachments

  • image029_jeep_corner_guards.jpg
    image029_jeep_corner_guards.jpg
    54.3 KB · Views: 818
  • image031_jeep_corner_guards.jpg
    image031_jeep_corner_guards.jpg
    48.3 KB · Views: 1,247
Step 10 - Attaching the flares and finishing up

Then using stainless steel hardware we attached the fender flares.
 

Attachments

  • image033_jeep_corner_guards.jpg
    image033_jeep_corner_guards.jpg
    113.7 KB · Views: 707
  • image035_jeep_corner_guards.jpg
    image035_jeep_corner_guards.jpg
    95.8 KB · Views: 666

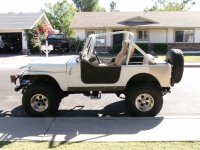
Dear Sir, I know you posted this a year ago (almost) and I have to say it's really straight forward and well explained. I have an 83 CJ7 and I am adding Gen-right rear tube fenders and have corner guards that were allready installed. Do you have any advice on how much I will have to cut and trim to install these?
 

Attachments

  • DIRTYCJ INSURANCE PICS 001.jpg
    DIRTYCJ INSURANCE PICS 001.jpg
    490 KB · Views: 6,027
Back
Top